
Introduction
Veneer tape is a game-changer for anyone working on woodworking or furniture projects. Whether you’re crafting a custom cabinet or repairing a wooden surface, veneer tape ensures a smooth, professional finish. But applying it can be tricky if you’re not familiar with the right techniques. This guide will walk you through everything you need to know to master the art of applying veneer tape, from choosing the right type to achieving a flawless finish.
Understanding Veneer Tape
What is Veneer Tape?
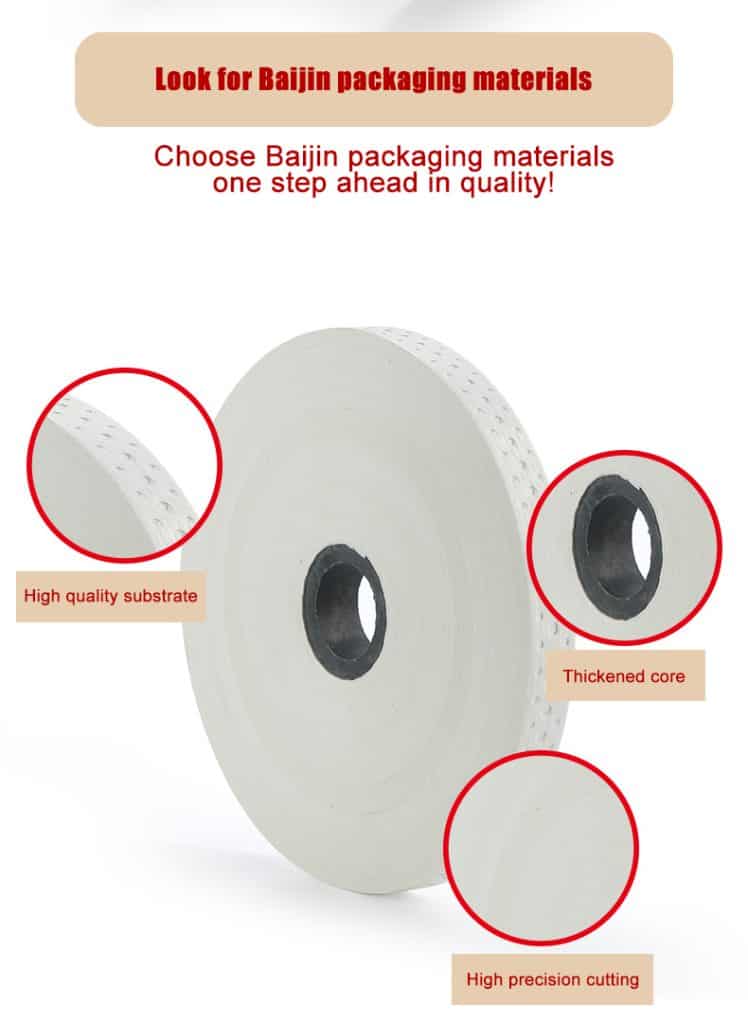
Veneer tape is an adhesive-backed strip specifically designed to hold veneer sheets in place during woodworking projects. It helps to seamlessly join veneer pieces and cover edges. Most types are water-activated, making them both easy to use and highly effective.
Types of Veneer Tape
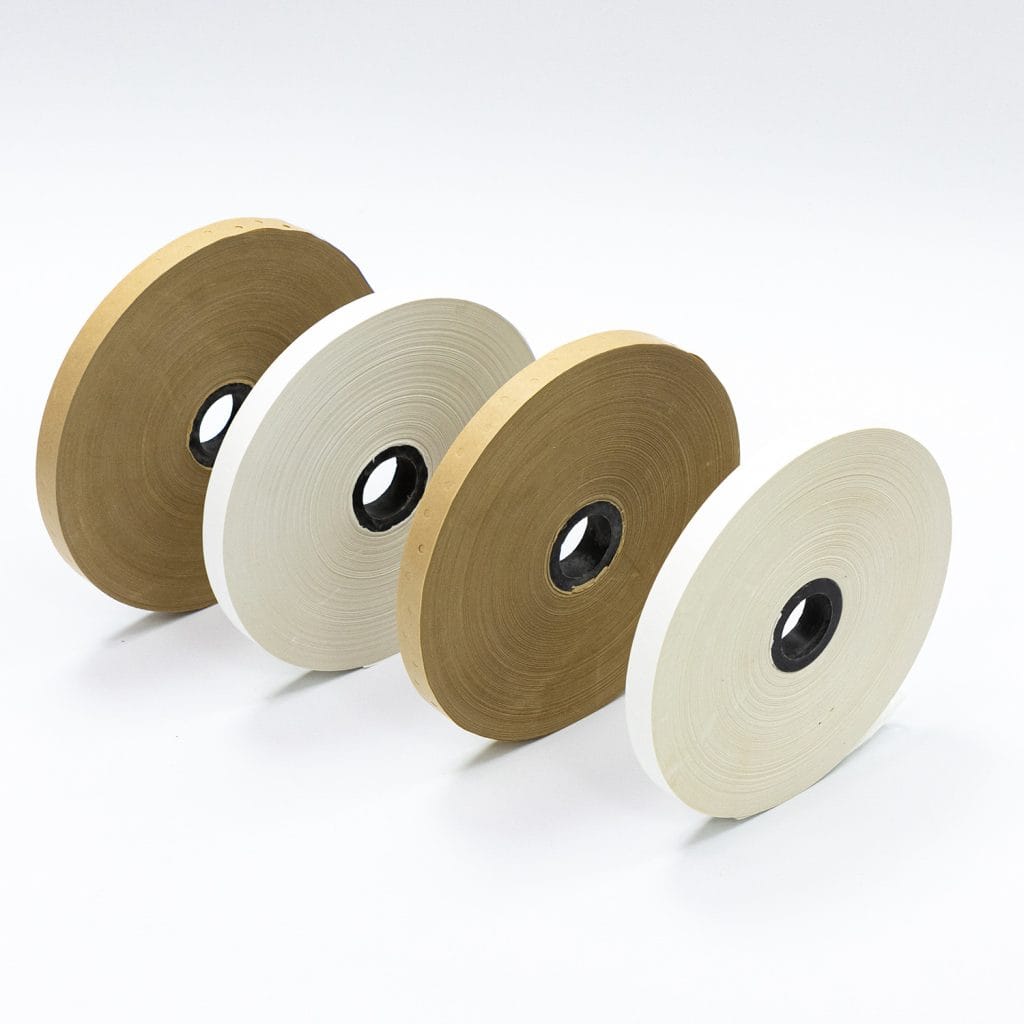
There are two main types of veneer tape:
- Single-sided tape: Ideal for simple repairs.
- Double-sided tape: Perfect for larger, more complex projects, as it offers extra hold.
Choose the type based on the scope of your project for the best results.
Tools Needed for Applying Veneer Tape
Before starting, gather these essential tools:
- Veneer tape
- Water and sponge (for water-activated tape)
- Iron (for heat-activated tape)
- Utility knife or razor blade
- Straightedge or ruler
- Sanding block or fine-grit sandpaper
Optional tools include clamps and a veneer roller to ensure even pressure during application.
Preparing Your Work Surface
A smooth, clean surface is crucial for good adhesion.
- Clean the surface: Remove dust, debris, or old adhesive using a damp cloth or gentle cleaning solution.
- Ensure a flat workspace: Work on a stable table or bench to avoid misalignments.
- Mark guidelines: Use a pencil to lightly mark where the tape will go—this makes alignment much easier.
Choosing the Right Veneer Tape
Picking the right tape depends on several factors:
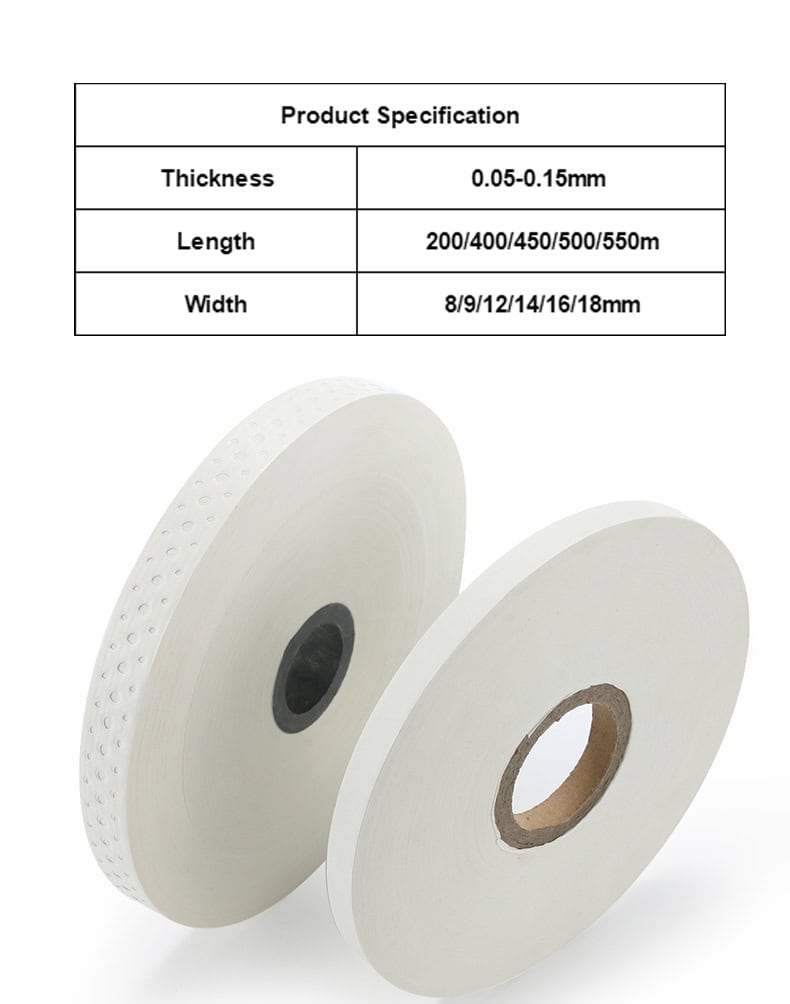
- Width: The tape should slightly overlap the veneer edge for proper adhesion.
- Type: Use heat-activated tape for larger projects requiring durability or water-activated tape for quick fixes.
- Material: Match the tape to the wood type for a cohesive look.
Step-by-Step Guide to Applying Veneer Tape
- Cut the tape to size: Measure the area and cut the tape slightly longer than needed.
- Activate the adhesive: For water-activated tape, dampen it with a sponge. For heat-activated tape, use an iron on medium heat.
- Apply the tape: Align it carefully along the marked area, ensuring no gaps.
- Secure with pressure: Use a veneer roller or your hands to press down firmly.
- Trim the edges: Once set, use a utility knife to trim excess tape for a clean finish.
Tips for a Seamless Finish
- Always work from the center outward to prevent bubbles or wrinkles.
- Apply even pressure when smoothing the tape.
- Test the adhesive on a scrap piece of wood to ensure compatibility.
Common Mistakes to Avoid
- Skipping surface preparation: Dust and oils can weaken the adhesive.
- Misaligning the tape: Use a straightedge for perfect placement.
- Overheating the tape: If using heat, don’t overdo it, or you might damage the veneer.
Using Heat and Pressure Correctly
Heat and pressure are critical for activating the adhesive and ensuring a strong bond.
- Use an iron on a medium setting, moving it slowly over the tape.
- For pressure, a veneer roller or even a hard plastic card can help ensure even application.
Repairing Mistakes During Application
If bubbles or wrinkles appear:
- Gently lift the tape using a knife, then reapply.
- Use an iron or a damp sponge to re-activate the adhesive.
Finishing Touches
After the tape is applied:
- Sand the edges: Use fine-grit sandpaper to smooth out overlaps.
- Seal the veneer: Apply a finish or sealant for added durability and protection.
Maintaining Veneer Tape Edges
To ensure longevity:
- Avoid exposing the veneer to excess moisture or heat.
- Periodically inspect for lifting edges and address them promptly.
Frequently Asked Questions (FAQs)
- What is the best veneer tape for beginners?
Water-activated veneer tape is easier to use for small projects. - Can veneer tape be removed?
Yes, it can be carefully lifted using a blade or heat. - How long does veneer tape last?
With proper application and maintenance, it can last for years. - Do I need to seal veneer tape?
While not required, sealing adds durability and enhances the finish. - What if the tape doesn’t stick well?
Ensure the surface is clean and use additional heat or pressure. - Can I paint over veneer tape?
Yes, as long as the surface is primed and sealed first.
External Resources for Learning
Conclusion
Applying veneer tape might seem intimidating at first, but with the right tools and techniques, you can achieve a professional-quality finish. From choosing the perfect tape to perfecting your application, this guide covers everything you need. Now it’s time to put these tips into practice and transform your woodworking projects!


