
Updated: March 22, 2023
Ironing on wood veneer tape can be a simple process that helps repair or cover up any blemishes or imperfections on your furniture or wooden surfaces.
Here are the steps to follow:
Prepare the surface: Start by cleaning the surface that you want to apply the veneer tape to. Make sure it is free of any dirt, dust, or debris. Sand down any rough spots or bumps that might prevent the tape from adhering properly.

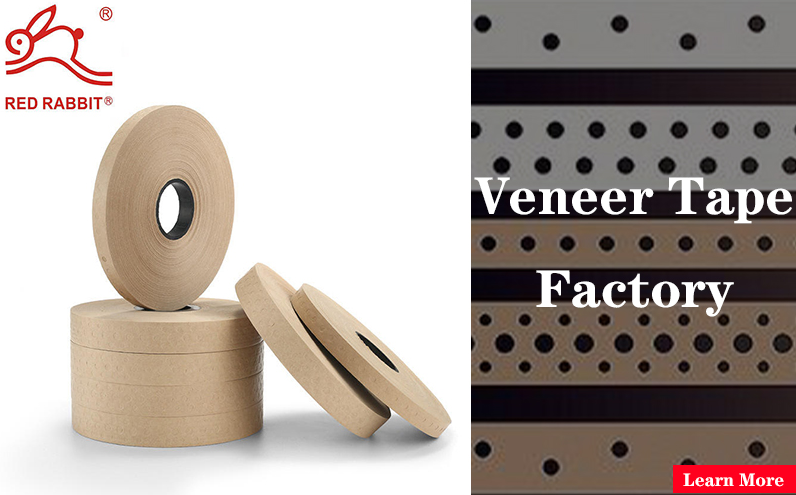
Cut the veneer tape to size: Measure the area that you want to cover with the veneer tape and cut a piece of tape to fit that size. Make sure to leave a little extra on all sides so that you can trim it later.

Apply heat: Place the veneer tape onto the surface of the wood with the adhesive side facing down. Use a clothes iron set to a low heat setting and apply gentle pressure on the tape, moving the iron slowly back and forth over the tape. This will help the adhesive to melt and bond the tape to the wood.


Trim the edges: Once the tape has cooled, use a sharp knife or razor blade to trim off any excess tape around the edges. Be sure to make the cuts as clean and straight as possible.
Sand and finish: Sand down any rough edges or bumps using a fine-grit sandpaper, and finish the surface with a coat of wood finish or varnish.


